

Introduction to Windows virtual machines in Azure
Windows 11 virtual machine is like a computer within your computer. It lets you run Windows 11 alongside your current operating system, so you can test software, run Windows apps, or experiment without affecting your main system. Get ready to boost your productivity, creativity, and connectivity with the convenience and flexibility of virtualization.
Follow these steps to create your Windows 11 virtual machine.
Sign In To Your Azure Portal
Before we begin, if you don't have an Azure subscription, you can create a free account here. Once you've created your Azure subscription, sign in to the Azure portal using your email and password to get started.
Create Your Virtual Machine
To create a Windows virtual machine on Azure, you can use the portal, Azure CLI, or Azure PowerShell. The easiest way is to use the portal, which offers a step-by-step guide that collects the required information and provides helpful hints and validation messages.
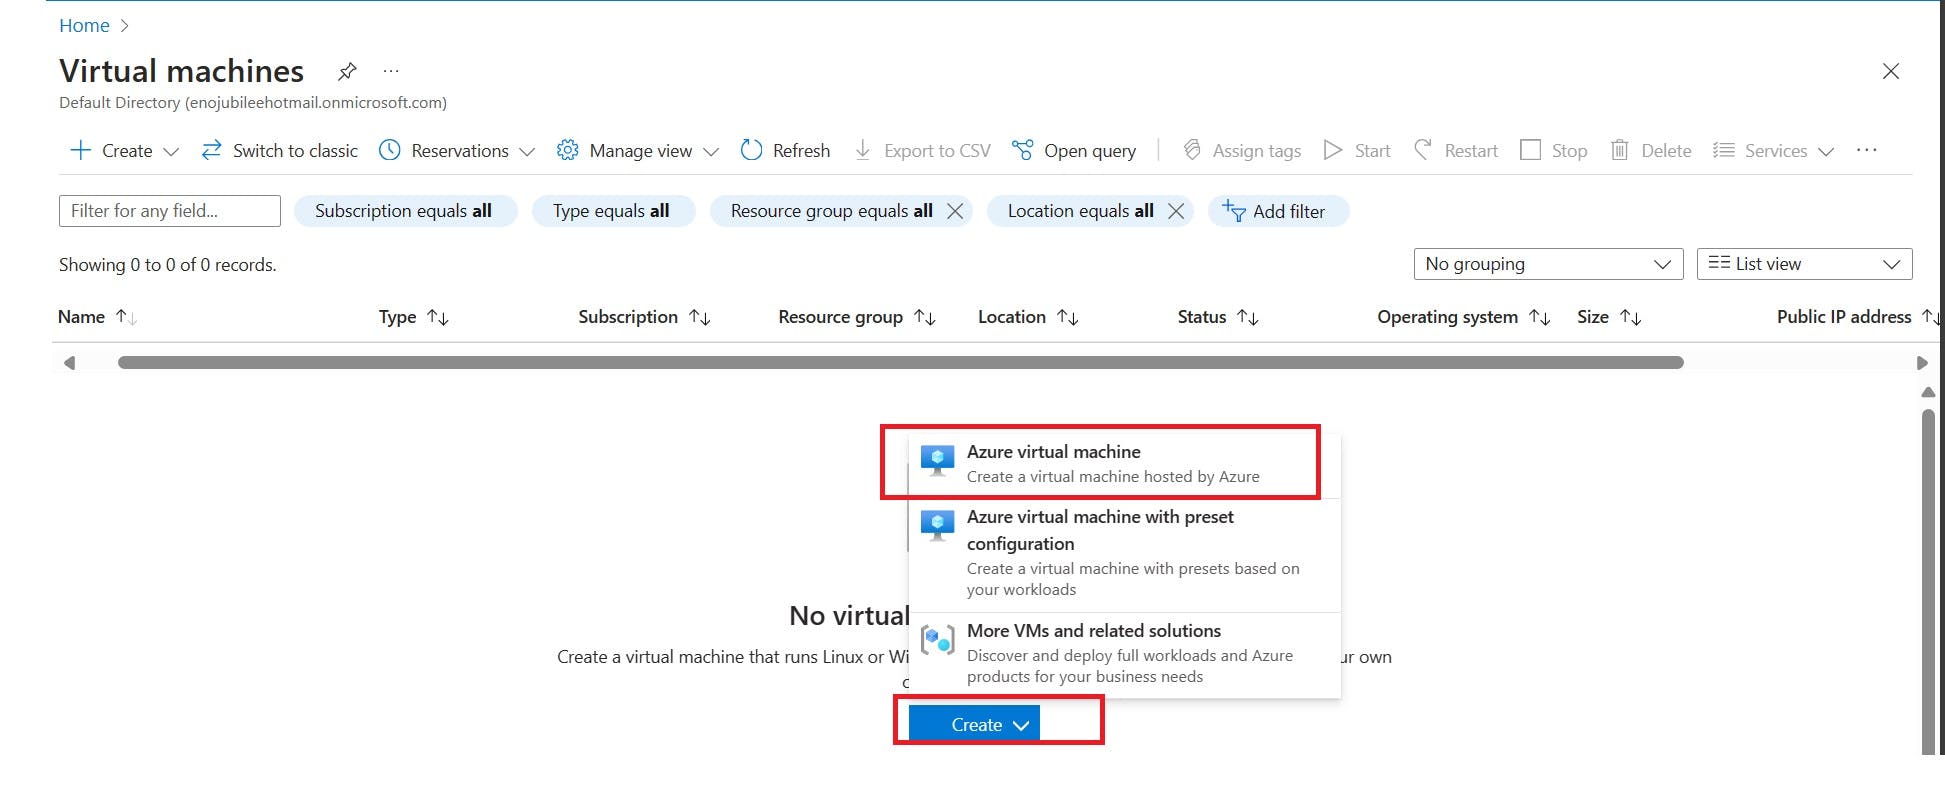
i. Type 'Virtual Machine' into the search bar
ii. Select 'Virtual Machine' from the search results
iii. Click 'Create'
iv. Select the highlighted virtual machine
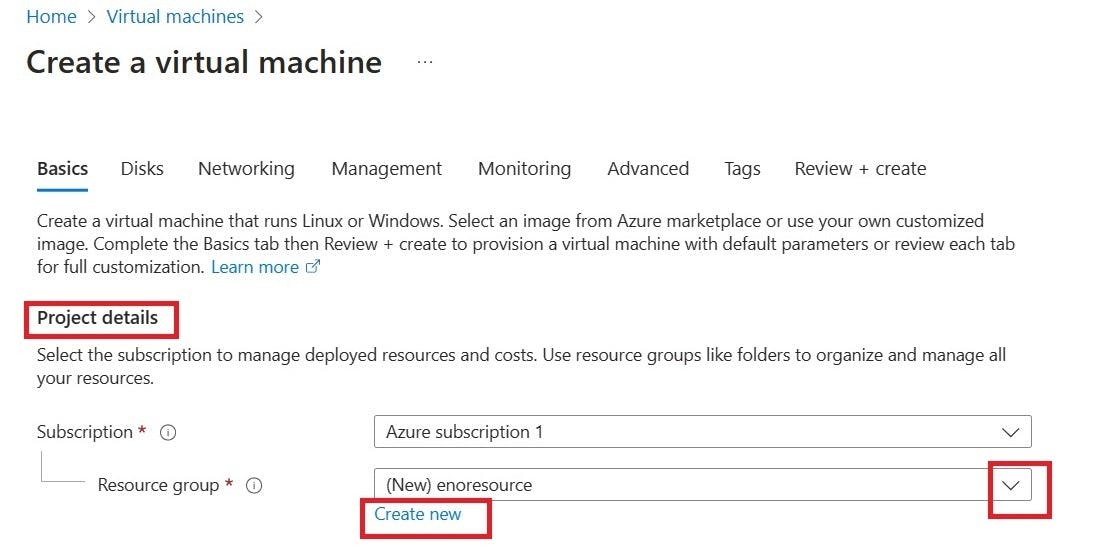
v. You will be redirected to the "Basics" page
Project Details
In the "Project Details" section, we can find the subscription and resource group.
- Subscription:
Azure subscription is like a membership that allows you to use Microsoft's cloud services. It's similar to signing up for a streaming service to watch movies or shows online. Once you have an Azure subscription, you can access and use services like virtual machines (which are like remote computers), storage (for saving files), and databases (for organizing data), just like how you can watch movies or shows once you've signed up for a streaming service.
2. Resource Group:
An Azure Resource Group is like a folder in Microsoft Azure that helps you manage everything related to a project. Think of it as a drawer in your kitchen where you keep all your baking supplies. For instance, when you're making cookies, you need flour, sugar, and chocolate chips. You can put all these ingredients in one drawer to keep them organized and easily accessible when you're baking. Similarly, you can use an Azure Resource Group to keep all your project resources organized and accessible in one place. These resources can include virtual machines, databases, storage accounts, networking components, and more.
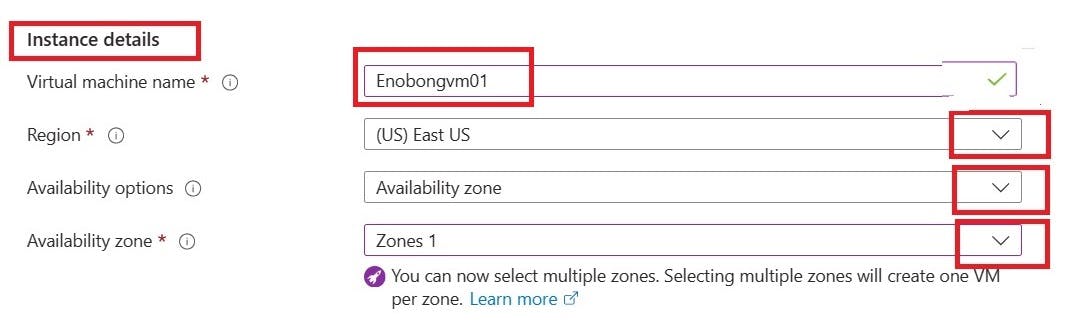
Instance Details
i. Name your virtual machine.
On a Windows VM, you can assign a name of up to 15 characters, which serves as the computer name configured within the operating system.
ii. In the region section, choose the location for your virtual machine.
An Azure region houses Microsoft Azure data centers, positioned worldwide for accessible and compliant operations. When setting up a virtual machine, select a region to allocate resources. Placing VMs near users enhances performance and ensures compliance.
iii. click the drop-down to choose your availability option and availability zone.
In Azure, regions can have three availability zones: Zone 1, Zone 2, and Zone 3. They're strategically spaced apart to reduce the chance of multiple zones being impacted by local outages or weather events.
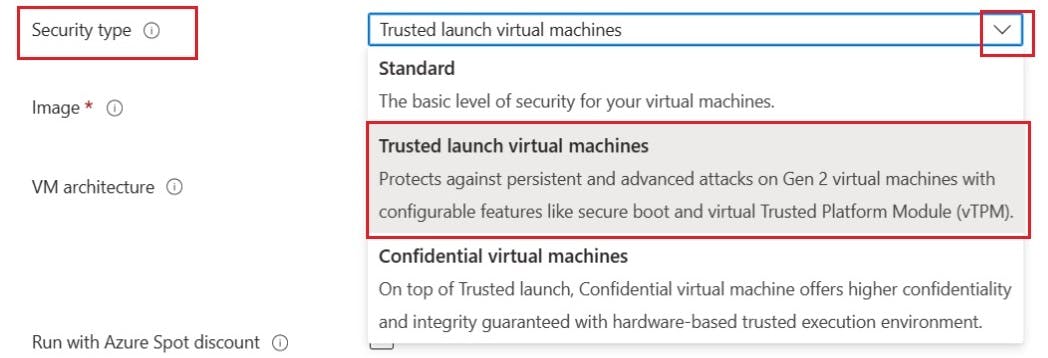
iv. Choose your security type from the drop-down menu.
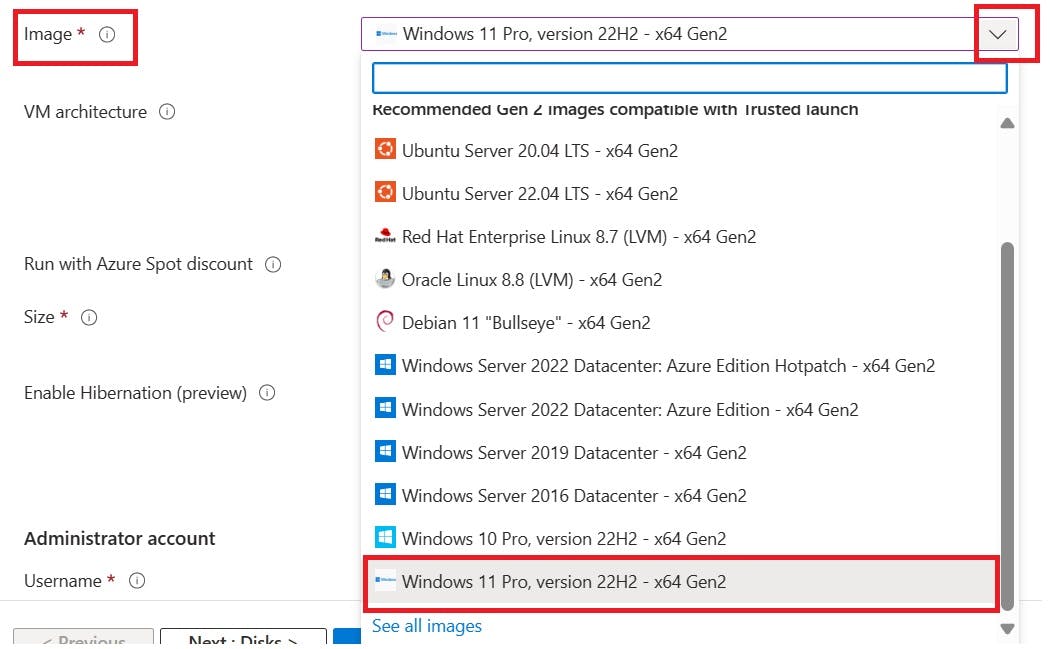
v. In the image section, select ‘Windows 11 Pro’ from the drop-down
An image is like a recipe card for a dish. Just as a recipe card provides all the instructions and ingredients needed to cook a specific dish, an image contains all the instructions and settings required to set up a computer system with a particular operating system and software.
vi. Choose the size of your virtual machine from the drop-down menu or select "See all sizes". Keep the other information as default.

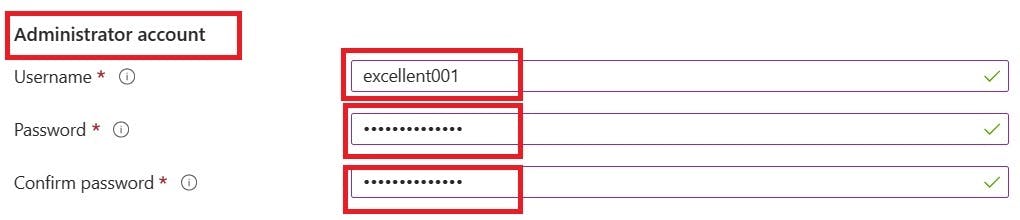
Administrator Account
i. Create a username and password for your account. Confirm the password to ensure accuracy.
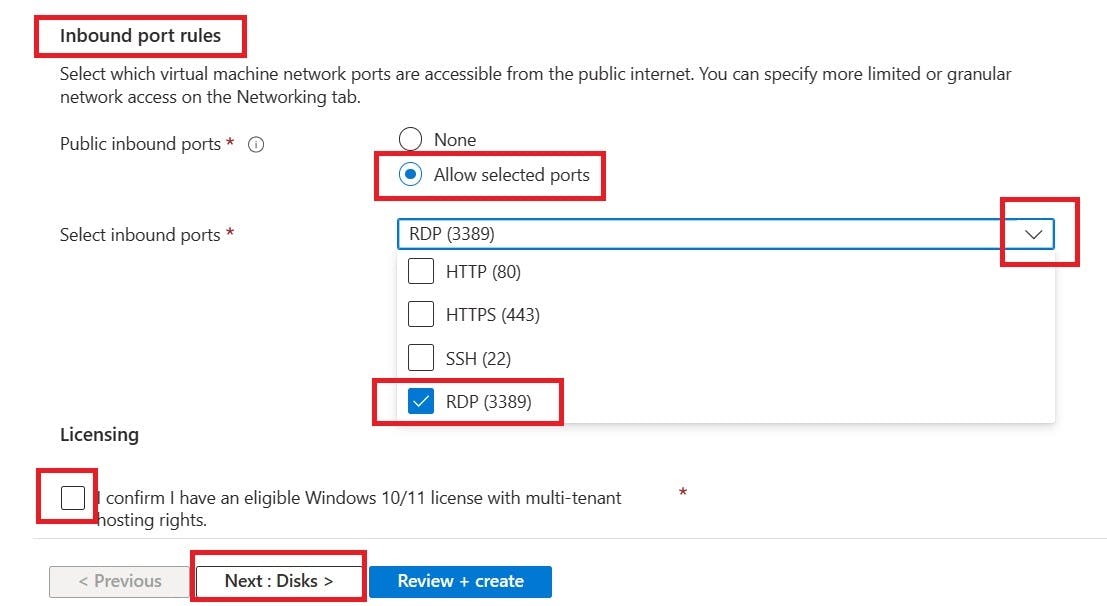
Inbound Port Rules
i. In the inbound port rules section, choose “Allow selected ports”
ii. Select “RDP (3389)”. This port enables remote access to your physical work desktop computers.
Licensing
i. Check the box "I confirm I have an eligible Windows 10/11 license with multi-tenant hosting rights," and then click "Next: Disks>" to proceed to the Disk page.
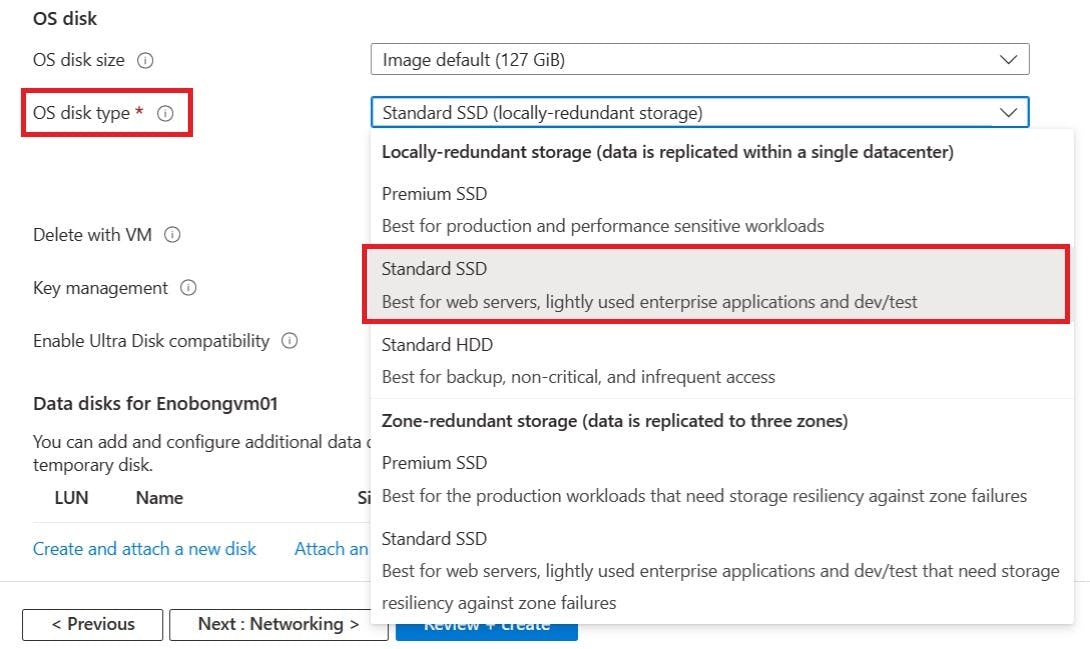
Disk
i. On the Disk page, choose "Standard SSD" or your preferred disk type from the OS disk type dropdown menu. Keep the other columns as default.
Skip to the Tag page. Leave the networking, management, monitoring, and advanced pages as they are by default.
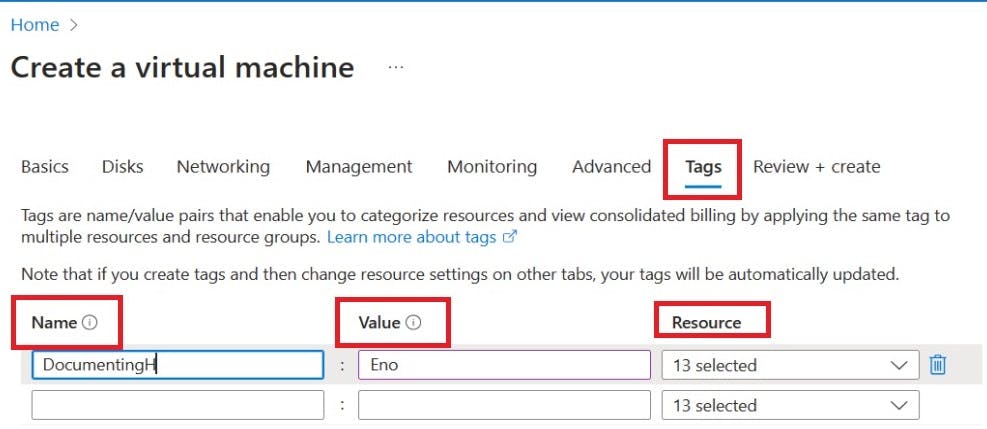
Tag
Tags in Azure VMs serve as labels that provide additional information about the resources, enabling better organization, management, and tracking within your Azure environment.
1. Name your tag
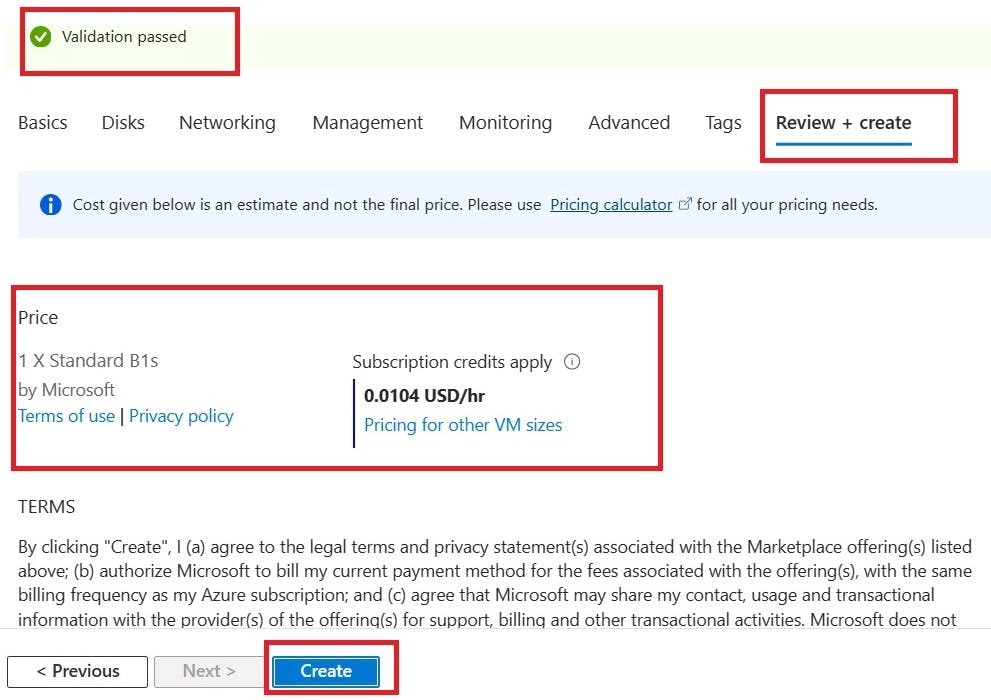
Click on "Review + create"
i. Review the summary of your virtual machine configuration and click "Create" to start the deployment process.
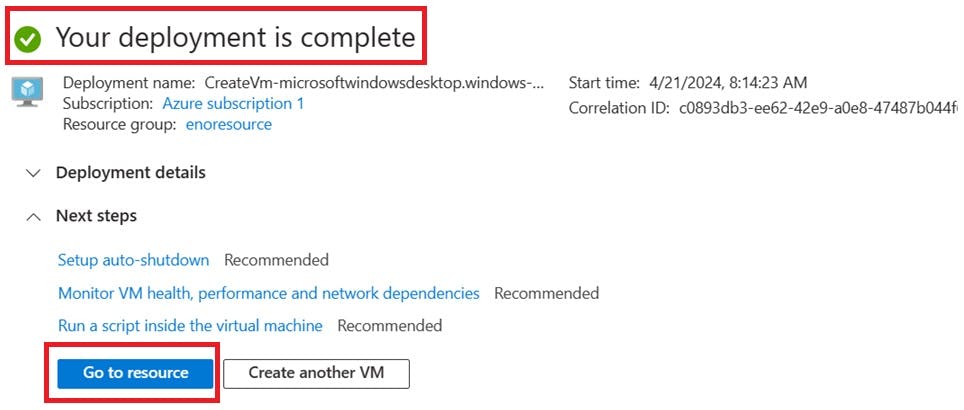
ii. After the deployment is completed, click "Go to resource”.
Connect to Your Windows Virtual Machine
Create a remote desktop connection to the virtual machine. These instructions guide you on connecting to your Windows 11 operating system.
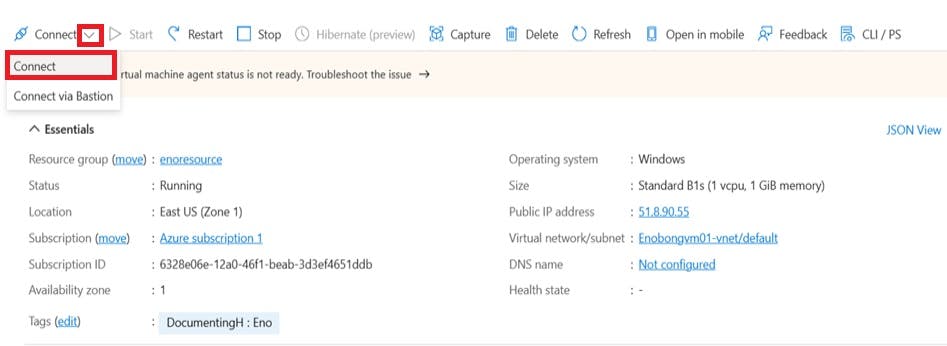
i. On your virtual machine's overview page, select "Connect".
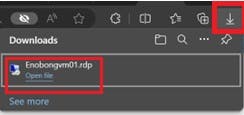
ii. Download the RDP file to your device.

iii. Open the downloaded RDP file on your computer.
iv. Select "Connect".

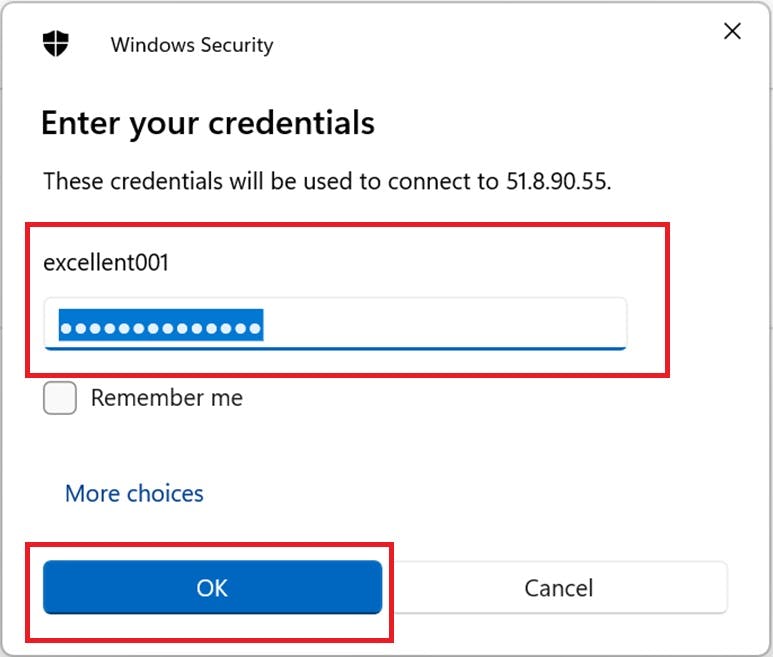
v. Enter your username and password, then click on "OK".
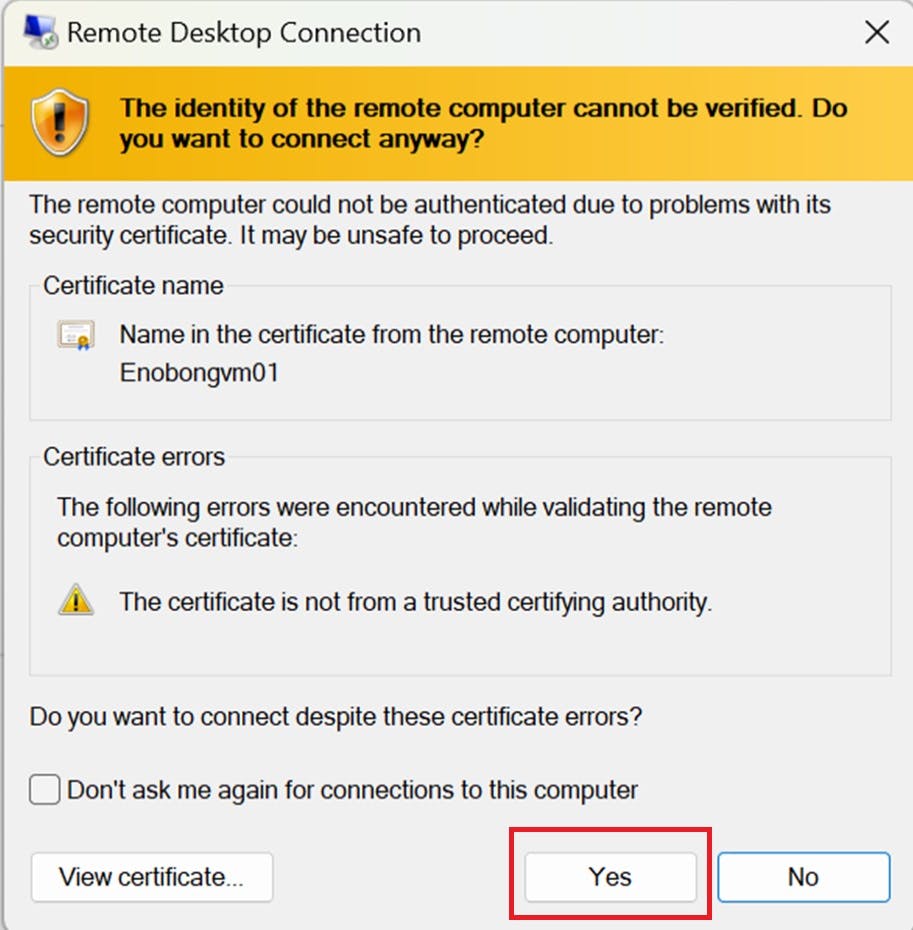
vi. Select "Yes" to proceed with the prompt.
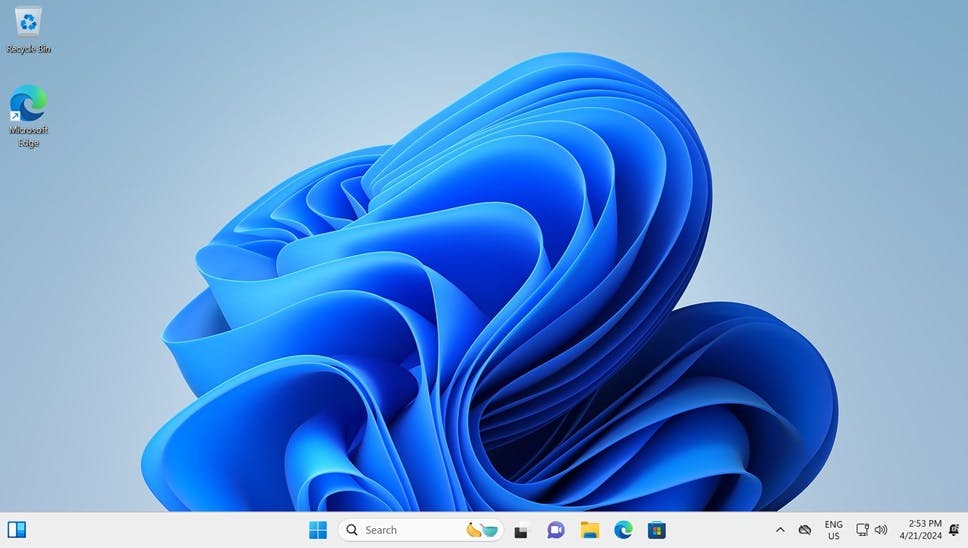
You're now connected to Windows 11 Pro.
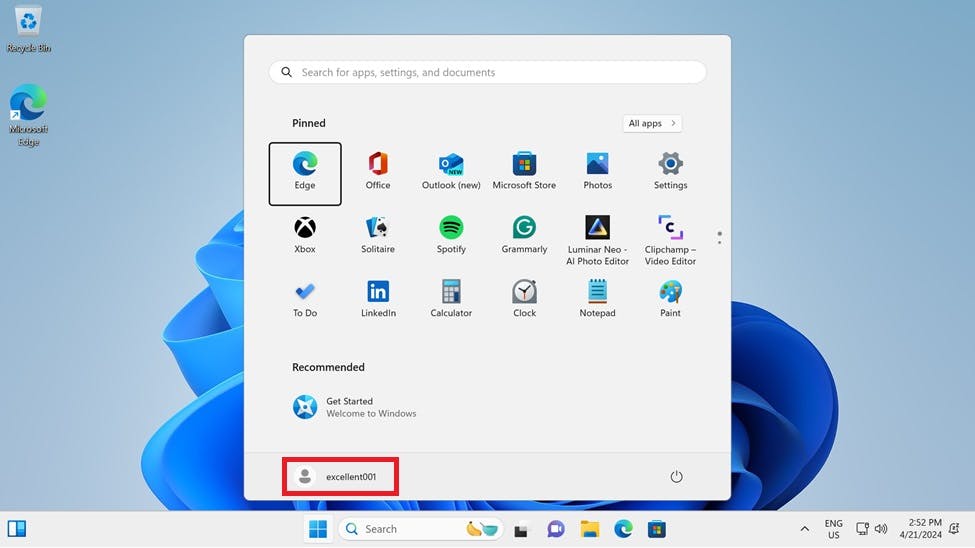
Congratulations on your new Windows 11 Pro!
Clean up:
When managing your subscription, consider it similar to maintaining your home. At the end of a project, it's like wrapping up a renovation or DIY task. Just as you wouldn't leave power tools running unnecessarily, it's essential to review and shut down any unused resources. Think of these resources as appliances left on—they continue to draw power and incur costs. You can turn off each appliance individually or switch off the main circuit breaker to cut power to the entire set of resources in one go.
Deleting A Resource Group
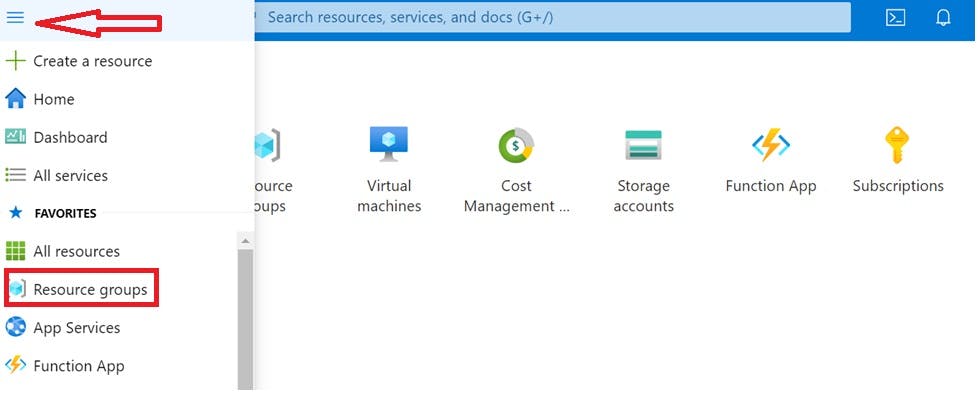
i. Navigate to the three-dash lines (hamburger menu) on the left-hand side of the page and click on "Resource groups".
ii. Choose the "resource group" you wish to delete, which in this case, is the one containing our just completed project.
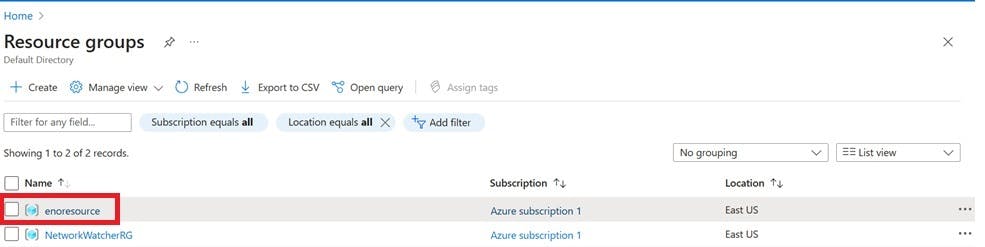
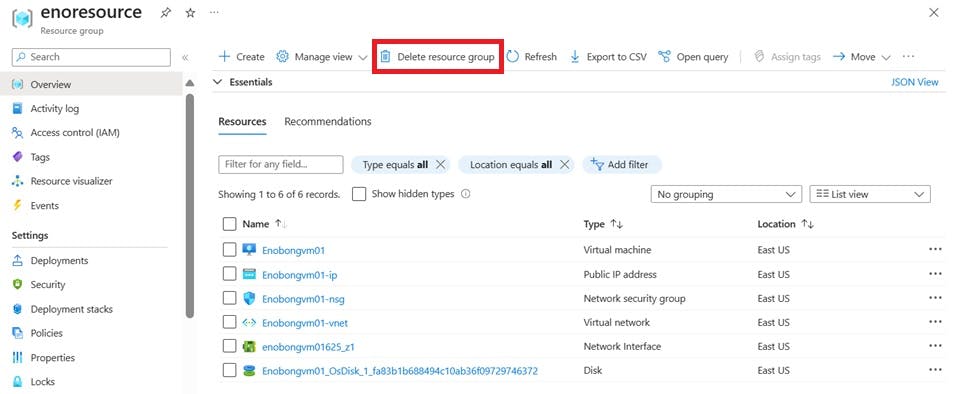
iii. Click on “Delete resource group”.
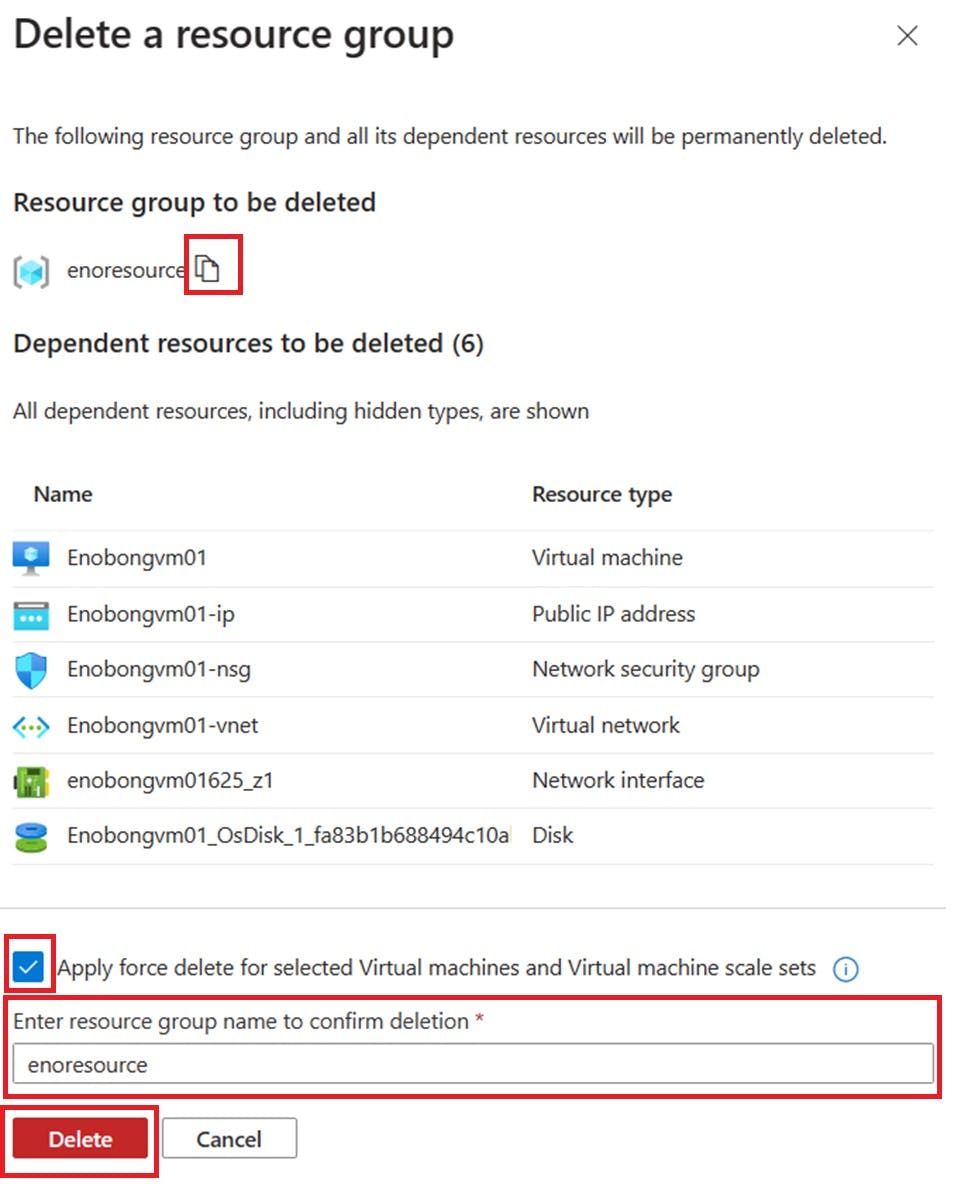
iv. On the right-hand pane, click the "copy icon" to copy the name of the resource group.
V. Paste it into the box labeled "Enter resource group name to confirm deletion".
vi. Check the box for “Apply force delete for Virtual machines and Virtual machine scale sets”.
vii. Select “Delete”.
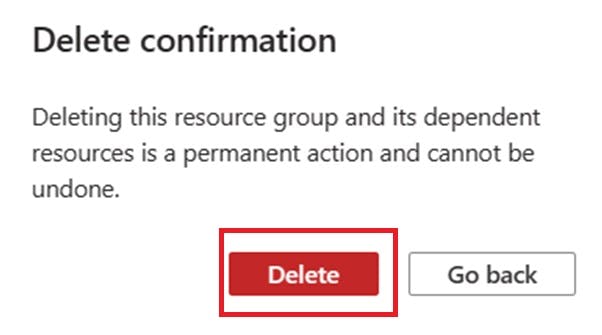
viii. Select "Delete" to proceed with the prompt.
I trust this detailed walkthrough has aided you in setting up your Windows 11 virtual machine.
Thank you.